Water Gilding

Spreading Gesso is the first phase on which a good gilding depends. Rabbit glue is necessary for the preparation of Gesso. This glue, which is found on the market in grains or sheets, is prepared before by soaking it in water (the correct proportions are approximately 1:10 – 1:12). Once the grains are swollen and softened, the water is heated, taking care never to let it boil.
At this stage, with a sieve, the plaster is gradually introduced into the container.
For a good job, It is fundamental that it never be mixed because this movement would cause the incorporation of air bubbles which, once dry, would become harmful irregularities on the surface of the object. Continue adding plaster until the mixture reaches the right consistency to be spread with a brush in a homogeneous layer. If the plaster is too dense, you will see a lot of brush marks, otherwise if it is too liquid, the layer will not have the right thickness.
It is also important that before proceeding with the Gesso layers, spread a layer of very liquid glue with just a little bit of chulk.
Between one spread and the other let the plaster dry.
Once the plaster has been laid out, it is recommended to finish with scrapers to remove any excess or imperfection. Then, it should be sanded with fine-grained sandpaper.
Finally, to remove dust and close the porosity, quickly wipe with a cotton ball.
Now the surface appears perfectly smooth and ready for the second phase.
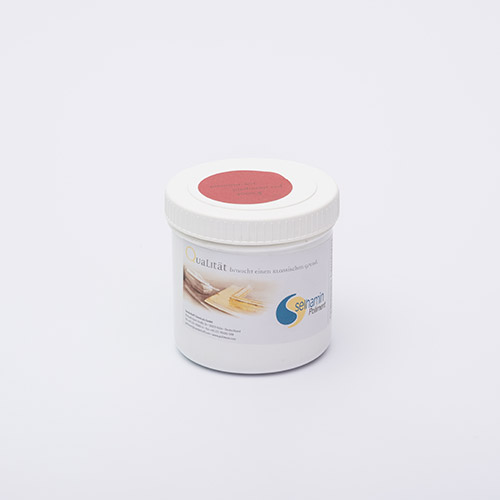
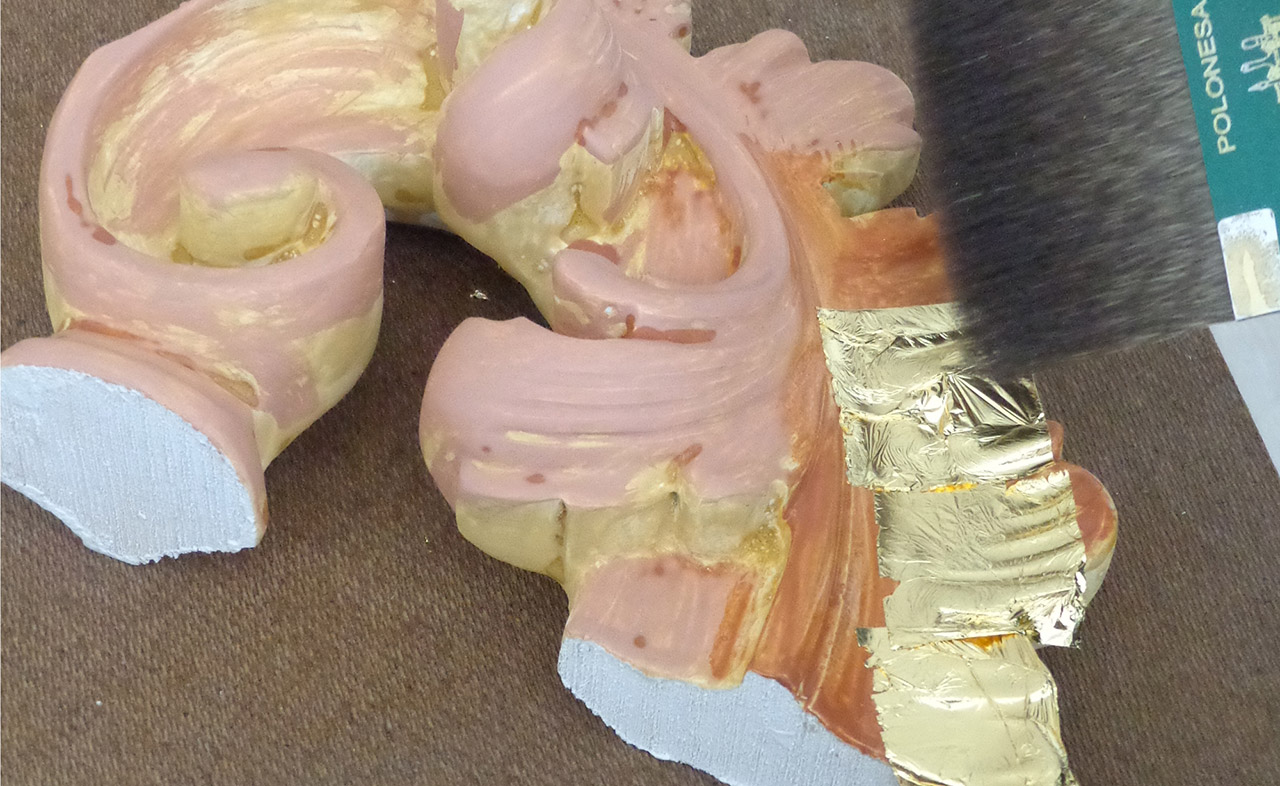
The bole is an indispensable element in water gilding, as with its adhesive power once mixed with the glue, it allows the leaf to adhere and allows its polishing during burnishing.
You can find it in jars in different colors. For gilding, red and yellow are typically used while black is used for silvering.
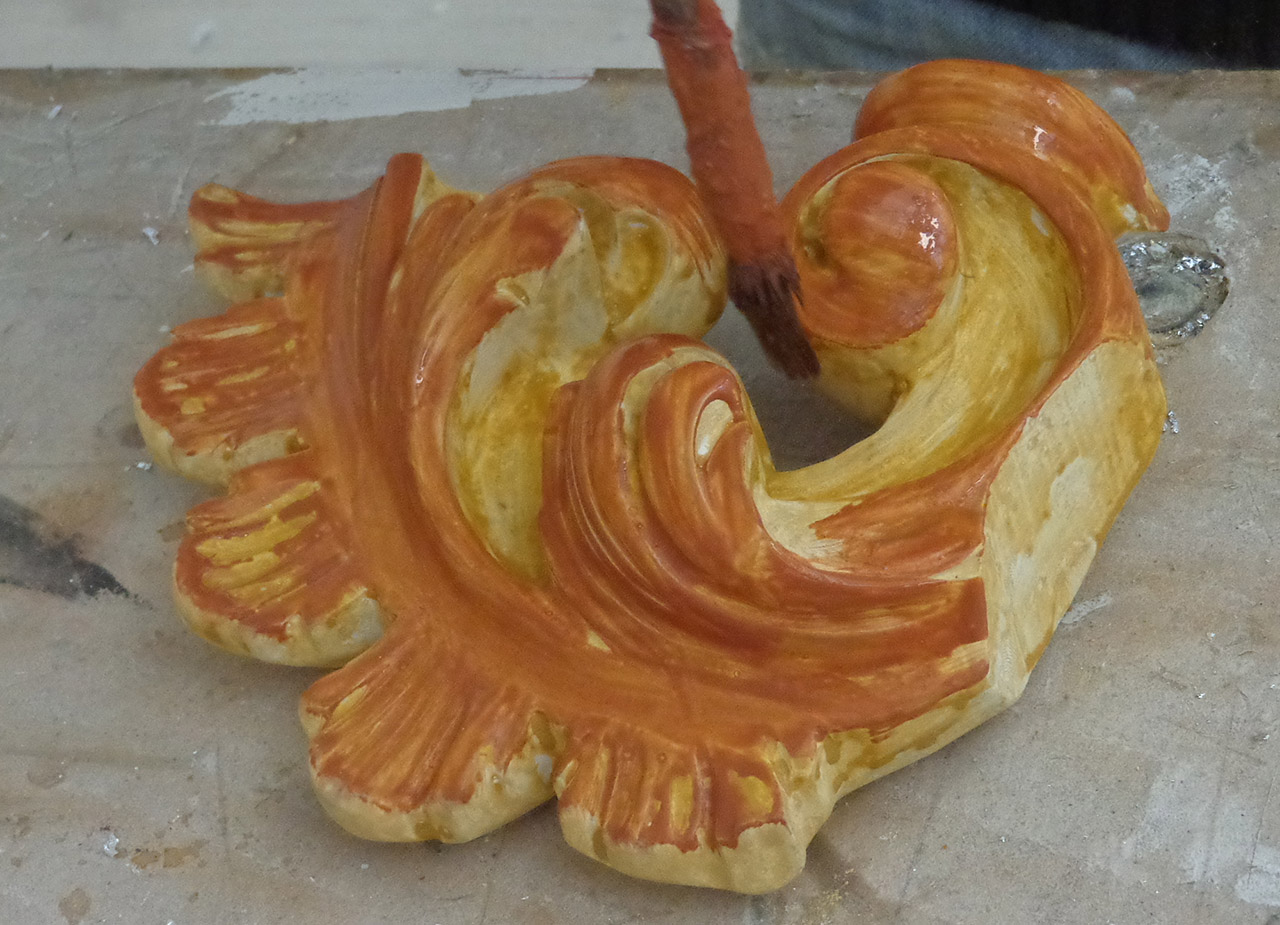
The considerable thinness of the leaves means that the color of the bole used will modify the final shade.
Therefore, by using a red color bole, the final color is warmer, while by using a yellow color, the final effect has a lighter tone.
Once the color of the plate has been chosen, it will be necessary to add the cooking fish glue, dissolved in water and always kept warm.
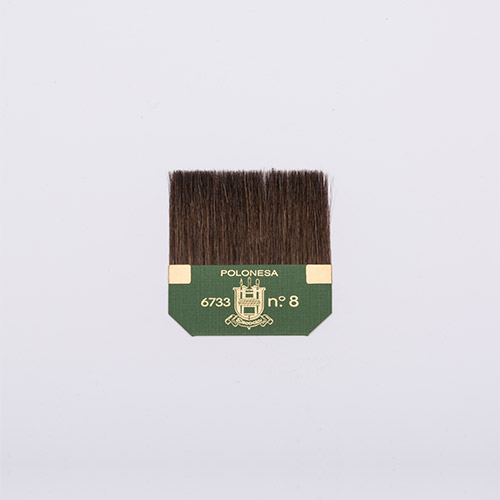
The mixture would be a fluid that is easy to apply with a soft brush.
Whatever the final color chosen, we start by giving a first layer of glue mixed with a little bit of yellow bole which, once dried, will be covered with two other hands of yellow bole, more if you have chosen yellow as the final color . If, on the contrary, it is red the chosen color, to the two layers of yellow, we will add two or three layers of red bole, always prepared in the same way. Note that before applying a layer, the previous one must be dried.
It is helpful to filter the plate with finely woven gauze to completely remove lumps or inclusions.
Once the bole has dried properly, we proceed to gilding. Gradually we will moisten an area of the bole, slightly larger than the leaf that will be placed. If more gold leaf is needed to cover the object, it is necessary to make a small overlap between them.
Due to the thinness of gold leaf and the need for a perfectly clean surface, it is essential that the place where we gild is free from dispersed dust and drafts as much possible!

Burnishing, or polishing, is the last phase of this kind of gilding and can only be used for water gilding. This operation is made using special instruments realized by agate stones of different shapes and sizes mounted on wooden handles.
Before polishing, it is necessary to clean the golden object of the parts of the leaves which have not adhered well with a dry cotton wool pad. Once this is done, the agate can be passed over the surface, always keeping the same direction and taking care to pass over all the points in order to homogenize the final effect.